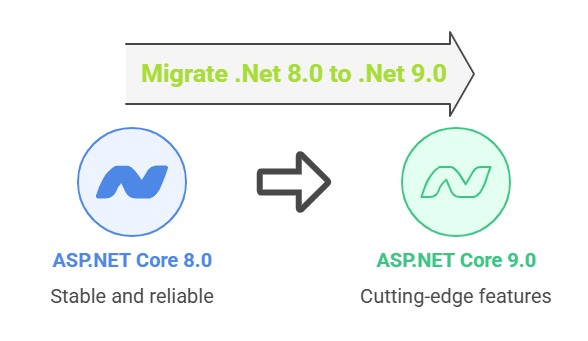
Migrating ASP.NET Core 8.0 to 9.0 – A Comprehensive Guide

The .NET ecosystem keeps evolving, and with .NET 9, Microsoft continues its focus on performance, developer productivity, and modern web standards. If you’ve been working with ASP.NET Core 8.0, upgrading to 9.0 is a logical next step—but there are a few important changes you should be prepared for.
This guide walks you through what’s changed, what to update, and why it matters.
Why Upgrade to ASP.NET Core 9?
.NET 9 brings a number of key improvements:
-
Fingerprinting and compression of static assets
-
Streamlined authentication in Blazor
-
Modernized asset referencing in components
-
Cleaner middleware setup
-
Improved performance and compatibility
These enhancements help modern web apps scale better while reducing client payloads and improving security.
🧰 Prerequisites Before Migration
Before starting the upgrade process, make sure you have:
-
.NET 9 SDK installed (from dotnet.microsoft.com)
-
Visual Studio 2022 (17.10+) or latest VS Code with C# Dev Kit
-
A full backup of your solution or a separate Git branch for migration testing
🛠 Step 1: Update SDK Reference
If your project includes a global.json file (to lock SDK versions), update it to target .NET 9:
Run dotnet --version to verify the active SDK is correct.
🧾 Step 2: Change the Target Framework
Open your .csproj file and replace the TargetFramework:
For multi-targeted libraries, ensure net9.0 is added to the TargetFrameworks list.
📦 Step 3: Upgrade NuGet Packages
Update all your ASP.NET Core and related packages (like Microsoft.AspNetCore.JsonPatch, Microsoft.Extensions.*, etc.) to version 9.0.0 or newer:
Use this command to find all outdated packages:
Then, run:
🗂 Step 4: Migrate Static Files to MapStaticAssets()
This is one of the biggest changes in .NET 9.
Previously:
Now:
This enables:
-
Fingerprinting (
site.abc123.js) -
Precompression (Brotli, GZip)
-
Cache-friendly headers
For MVC or Razor Pages apps:
Tip: This gives you better browser caching and faster load times out of the box.
🧩 Step 5: Adjust Blazor Asset Referencing
Blazor apps now use asset mapping and ImportMap for managing JavaScript and CSS:
-
Add the following in
App.razor:
-
Replace hardcoded asset links with:
This enables automatic fingerprinting of assets and consistent loading paths across environments.
🔐 Step 6: Simplify Blazor Authentication State Handling
.NET 9 introduces new APIs for handling authentication state.
Blazor Server
Old:
New:
Optional configuration:
Blazor WebAssembly
New API:
This removes the need for PersistingAuthenticationStateProvider.
💡 Step 7: Stream Rendering Simplification
You no longer need to specify a boolean value with [StreamRendering].
Old:
New:
Cleaner syntax, same effect.
🧪 Step 8: Test Thoroughly
-
✅ Build and run locally
-
✅ Check asset loading in browser dev tools
-
✅ Validate authentication flow (especially Blazor Server)
-
✅ Deploy to staging and run smoke tests
-
✅ Use
dotnet publishand verify compression/fingerprinting results
✅ Migration Summary Checklist
| Task | Status |
|---|---|
Update global.json |
☐ |
Target framework set to net9.0 |
☐ |
| All NuGet packages updated | ☐ |
Replaced UseStaticFiles |
☐ |
Updated Blazor assets (@Assets[]) |
☐ |
Added <ImportMap /> in App.razor |
☐ |
Used .AddAuthenticationStateSerialization() |
☐ |
Simplified [StreamRendering] usage |
☐ |


