
Integrate Swagger in an .NET Core Web API


Introduction
When consuming a REST API, understanding its various methods can be challenging for a developer. Swagger, also known as OpenAPI, solves the problem of generating useful documentation which allows us to obtain a good quality of documentation with a minimal time cost. Also, it gives benefits such as interactive documentation, client SDK generation, and API discoverability. The .NET Core implementation Swashbuckle is very easy to use Swagger by adding a couple of NuGet packages and modifying the Startup.cs.
- Swashbuckle is an open source project for generating Swagger documents for Web APIs that are built with ASP.NET Core MVC.
- Swagger is a machine readable representation of a RESTful API that enables support for interactive documentation, client SDK generation and discoverability.
Detail
Following are the steps to integrate Swagger UI in an .NET Core Web API project.
- Create .Net Core WebAPI project or Use existing WebAPI project (use Visual Studio 2017 or 2019)
Suppose, we have created new web api project with following sets of controller methods:
using System;
using System.Collections.Generic;
using System.Linq;
using System.Threading.Tasks;
using Microsoft.AspNetCore.Mvc;
namespace SwaggerIntegration.Controllers
{
[Route("api/[controller]")]
[ApiController]
public class ValuesController : ControllerBase
{
// GET api/values
[HttpGet]
public ActionResult<IEnumerable<string>> Get()
{
return new string[] { "value1", "value2" };
}
// GET api/values/5
[HttpGet("{id}")]
public ActionResult<string> Get(int id)
{
return "value";
}
// POST api/values
[HttpPost]
public void Post([FromBody] string value)
{
}
// PUT api/values/5
[HttpPut("{id}")]
public void Put(int id, [FromBody] string value)
{
}
// DELETE api/values/5
[HttpDelete("{id}")]
public void Delete(int id)
{
}
}
}
- Install Swashbuckle.AspNetCore package from NuGet
We can use either Package Manager Console Or Wizard to install package.
Package Manager Console:
PM > Install-Package Swashbuckle.AspNetCore
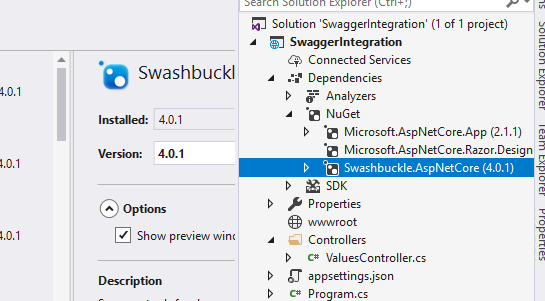
Nuget Package Wizard: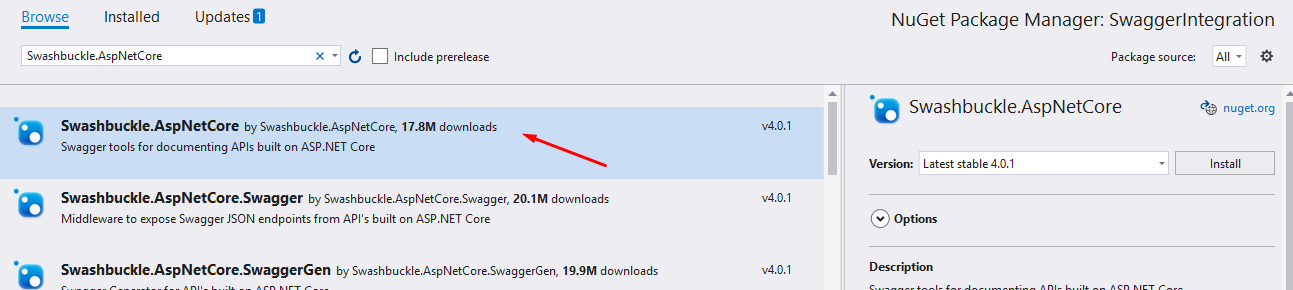
- Modify methods in Startup.cs class
Configure()
ConfigureServices()
Now, open startup.cs file, go to ConfigureServices, and AddSwaggerGen. The method will look like this.
public void ConfigureServices(IServiceCollection services)
{
    services.AddMvc().SetCompatibilityVersion(CompatibilityVersion.Version_2_1);
    services.AddSwaggerGen(c =>
    {
        c.SwaggerDoc("v1", new Info
        {
            Version = "v1",
            Title = "Nice Test API",
            Description = "ASP.NET Core Web API"
        });
    });
}
After that, add the Swagger UI to the Configure method, after which it will look like this:
public void Configure(IApplicationBuilder app, IHostingEnvironment env)
{
    if (env.IsDevelopment())
    {
        app.UseDeveloperExceptionPage();
    }
    else
    {
        app.UseHsts();
    }

    app.UseHttpsRedirection();
    app.UseMvc();

    app.UseSwagger();
    app.UseSwaggerUI(c => {
        c.SwaggerEndpoint("/swagger/v1/swagger.json", "Test API V1");
    });
}
Include namespace, using Swashbuckle.AspNetCore.Swagger;
Now, all is set, just you need to change lauch setting to start appilcation with swagger:
{
  "$schema": "http://json.schemastore.org/launchsettings.json",
  "iisSettings": {
    "windowsAuthentication": false,
    "anonymousAuthentication": true,
    "iisExpress": {
      "applicationUrl": "http://localhost:53558",
      "sslPort": 44343
    }
  },
  "profiles": {
    "IIS Express": {
      "commandName": "IISExpress",
      "launchBrowser": true,
      "launchUrl": "swagger/",
      "environmentVariables": {
        "ASPNETCORE_ENVIRONMENT": "Development"
      }
    },
    "SwaggerIntegration": {
      "commandName": "Project",
      "launchBrowser": true,
      "launchUrl": "swagger/",
      "applicationUrl": "https://localhost:5001;http://localhost:5000",
      "environmentVariables": {
        "ASPNETCORE_ENVIRONMENT": "Development"
      }
    }
  }
}
Now, run the application and you can see following swagger doc:
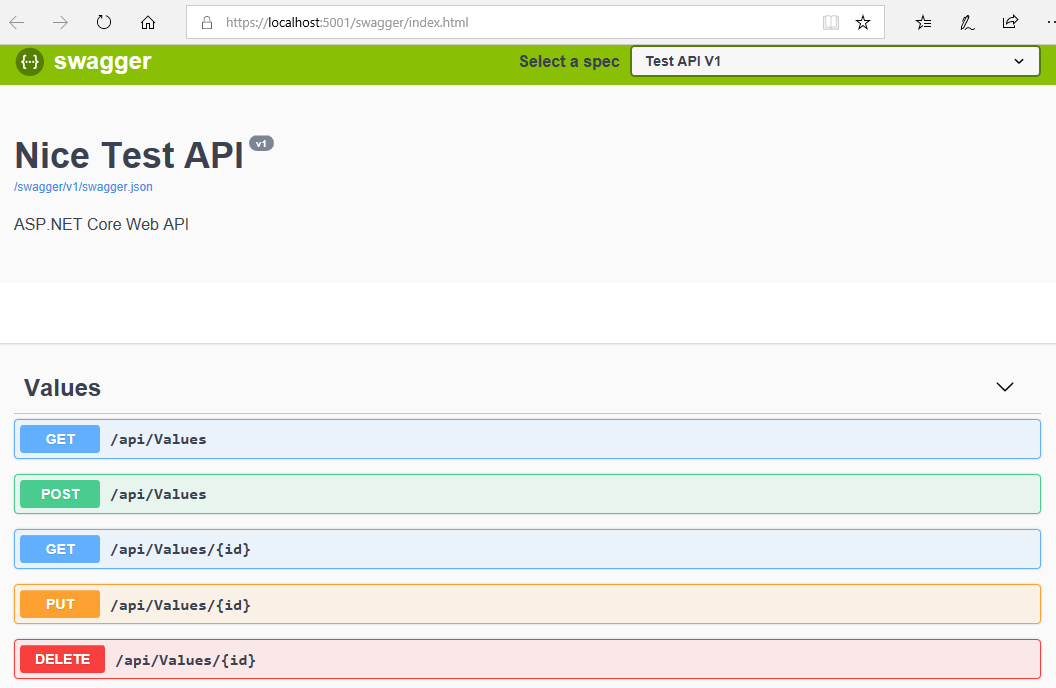
Watch video here: https://youtu.be/oUkj6eL3pMY
Conclusion
It's very easy to integrate swagger doc in .NET Core REST APIs. Hope, this article will help developer during integration.

Smith
05-Oct-2019 at 21:48